Pumpkin up the party now
A guide to pumpkin carving
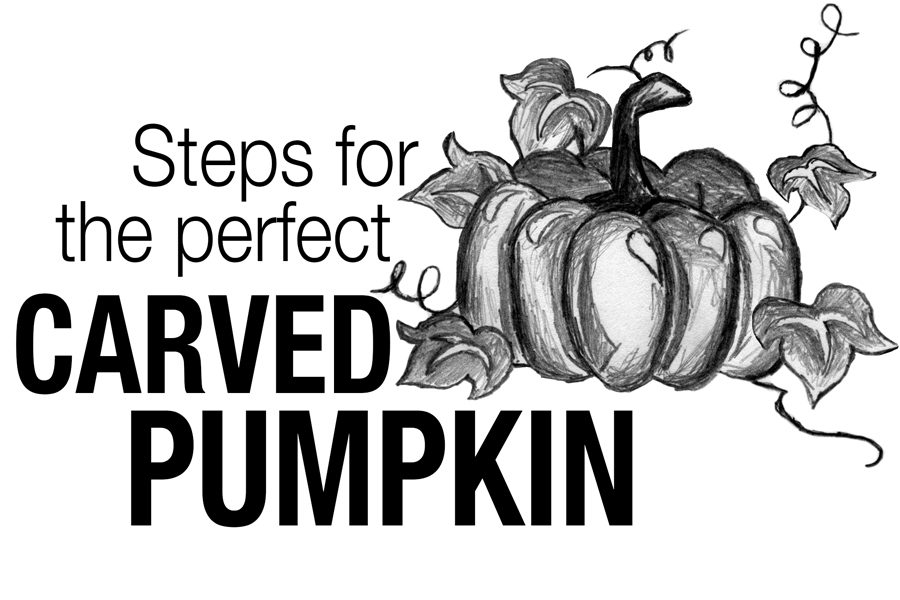
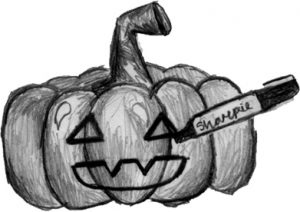
Photo illustration. Illustrations by Colton Johnson.
It’s that time of the year again. Despite the bipolar Texas weather, fall is in the air. Pumpkin Spice Lattes are back on the menu, leaves are beginning to fall and, if we’re lucky, a chill is on its way. But what truly defines the fall season? Halloween. Nothing screams Halloween like a spooky pumpkin on your doorstep. This is your year to impress your neighbors and scare the little trick-or-treaters. Just follow these simple steps to carve the perfect pumpkin.
STEP 1: Picking the Perfect Pumpkin
The best pumpkins are usually not the ones on display at your local Albertsons. No, grocery stores hide the top notch pumpkins just out of reach in those tall crates which seem to be a bottomless pit of pumpkins. One must be willing to put in the work, and quite possibly subject themselves to public humiliation in order to snatch up the flawless pumpkins with sturdy stems and a hard outer shell.
Tip: If you thump the pumpkin and it makes a hollow sound, that means it is ripe and ready for use. Also, don’t turn down a pumpkin just because it has a little dirt on it! You must be able to see past the dirt because it can easily be wiped off. That ugly duckling will become a goose when you are finished with it, so give it a chance.
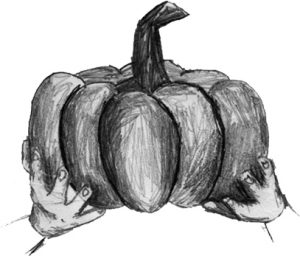
 STEP 2: Cut out a Lid to Prepare for Operation
This is tricky so be careful or you and your pumpkin could suffer from a mild panic attack. Using a black sharpie, draw a circle with a 2 inch radius around the stem of your pumpkin. Pick a sharp knife from your kitchen to cut around the circle you just made. Make sure not to cut vertically, but instead cut at an angle with the knife pointed toward the center of the pumpkin. This will ensure that your lid does not fall through.
Tip: Be careful– knives are sharp, and killer clowns would gladly steal them if you leave them outside.
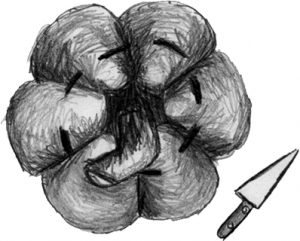
 STEP 3: Operation
Spread newspapers on the sidewalk so you can dispose of the pumpkin guts easily, leaving no trace of evidence. Grab a spoon, or if you are really looking to get the full pumpkin carving experience, get your hands dirty, and pretend you are Merideth Grey doing surgery on a patient if you want to spice up your pumpkin gutting gore fest.
Tip: If you want to take the time to separate the guts and the seeds, you can roast them! Douse a cup and a half of pumpkin seeds in 2 tablespoons of melted butter and mix in a pinch of salt in a bowl. Preheat the oven to 300 degrees then bake the seeds for 45 minutes or until they turn golden brown. (Would recommend washing the seeds first… that might taste weird if you don’t).
 STEP 4: Designing
If you are a beginner, it would probably be easier to carve the traditional jack-o’-lantern (two triangle eyes, a spooky mouth, and if you’re really feeling like going all out, give it a nose). For those of you who don’t trust yourself to make it perfect on the first try, make life easier and just draw your designs on the pumpkin with a sharpie or a washable marker. For those who are not artistically inclined, there are many websites (www.pumpkinlady.com) that have pumpkin carving templates that you can print off, paste on your pumpkin, and then easily carve around.
Tip: Before you begin carving and gutting, it is important to know that pumpkins usually begin rotting about a week and a half after carving, so if you want them to be picture perfect for Halloween, keep your time frame in mind. I have seen and smelled a rotten pumpkin before, and it is enough to scare away any possible trick or treaters you are trying to attract.
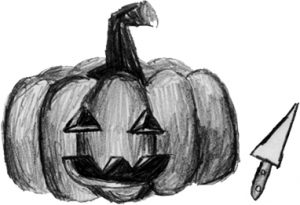 STEP 5: Carving
Take your handy dandy knife and carefully cut on the lines that you made to design your pumpkin. Slow and steady wins the race on this one to avoid unfortunate events such as stabbing yourself or more importantly, ruining your pumpkin. Silhouette carvings make for show stopping pumpkins. For instance, if you drew the silhouette of a cat on your pumpkin, you would carve around the cat so that the light would illuminate around your spooky feline. Even though it is pretty simple, your neighbors will think you’re an expert just because it is something different.
Tip: If you are doing a detailed design and cut too close to a section you have already carved or accidentally cut too far, pieces may fall off your pumpkin. If this happens don’t panic, you can try and fix this by sticking toothpicks into the broken pieces and salvaging them. Do not give up on that pumpkin.
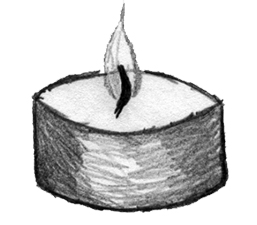 STEP 6: Put a little candle in the center of your pumpkin and let your masterpiece shine for the world.
Tip: If one candle isn’t enough, don’t be afraid to put more in there so they may all shine together. You could also purchase lights if the candles are not putting out enough light for you. Another cool idea would be to fill your pumpkin with Christmas lights and cut out a small hole in the back to feed the lights through so you could plug it in.

If a tragically humiliating outbreak of stress hives the week before Prom didn’t stop senior Colton Johnson from obtaining ⅓ of the power over the...